1. Locate the Applicable Tab
Navigate to the tab you’d like to create a saved view for – Any page with a kendo-grid will work!
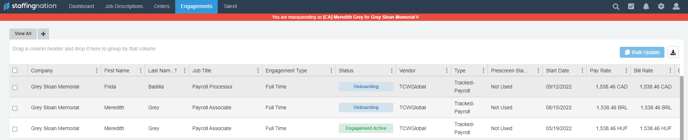
Popular saved views are typically done on the Engagements tab related to onboarding and prescreening statuses.
2. Adjust Columns & Filters
Depending on the information you’d like to see, you can:
- add/remove columns
- rearrange the order of the columns
- sort alphabetically
- group data together
- and/or filter them down.
Simply select any column header’s menu to adjust your data – This is where you make it your own!
Tip – Not satisfied with the view and want to restart? Click on “View All” to reset your data for a fresh start.
3. Save Your View
Once you’ve created your view exactly the way you want it, click on the “+” on the top left corner next to “View All” and save it with a name of your choice.
 If you ever want to update this specific view in the future, simply make the needed changes to the columns, click the “+” to save with a different name and then delete the original saved view.
And you’re done! Now, every time you return to the same page within StaffingNation, you'll see your list of saved views at the top of the screen. You can have multiple saved views to make things even easier for you to see exactly what you need!

Need Additional Help?
We want you to feel successful in utilizing StaffingNation! Give us a call at 858-810-3000 or email hello@tcwglobal.com and our teams will be happy to assist you!