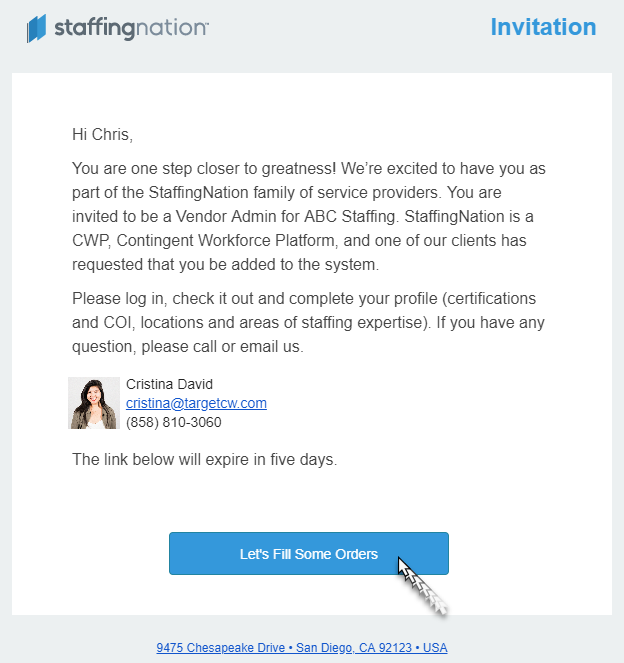
1. Create Your Account
Locate the email notification from StaffingNation to begin creating your account. You’ll be prompted to set-up a password with MFA abilities, complete your company information and acknowledge the “Vendor Terms of Service”.
2. Set Up Your Vendor Information
Within the Vendor Administration Settings page, you’ll complete setting up the rest of your Vendor Information. Below is a breakdown of what is required:
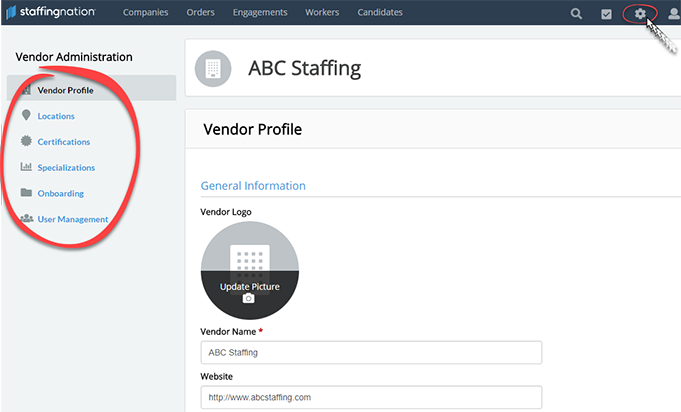
- Vendor Profile: Add in a company description and logo
- Locations: Add multiple different vendor locations
- Certifications: Upload the required certifications:
- COI
- W9
- EFT bank information
- Copy of a voided check
- Specializations: Select multiple to highlight your specializations!
- Onboarding: Setup the following parameters:
- Setup – Set your preference for collecting worker employment eligibility information and withholding allowance, specify your payment options for your workers, and provide a prescreen contact email to receive pre-employment screening notifications.
- Offer Letter - Select your payday and include your legal employer disclaimer, employment agreement, contact information, and/or any additional information your company requires on the worker Offer Letter.
- Forms - Send all your vendor-specific onboarding worker forms to your TCWGlobal contact (NDA, company handbook, policy acknowledgment documents, etc.). TCWGlobal will audit and upload all forms into StaffingNation for your new workers to complete electronically during onboarding. You will see the list of your vendor-specific forms under the Forms tab.
- User Management: Add any additional users to have visibility to your vendor profile (Vendor Admin, Recruiter, Vendor Team Member)
- Vendor Team Member – Limited to viewing vendor portal activity but cannot make changes.
- Recruiter – Limited to management of candidate submissions and viewing of vendor portal activity.
- Vendor Admin – Full control to view, manage, and edit all vendor activities within the portal.
3. Start Submitting Candidates!
Once you’ve completed setting up your vendor account, you will receive an email notification when a new job order needs to be filled so you can start submitting your candidates!
Need Further Guidance?
No worries – TCWGlobal is here for you each step of the way. Please feel free to give us a call at 858-810-3000 or email hello@tcwglobal.com to receive the support you need!